|
|
|
|
News The Project Technology RoboSpatium Contribute Subject index Download Responses Games Gadgets Contact <<< R20 mail2code Power rails >>> R21 from cardboard - ConstructionThe video about R21About R21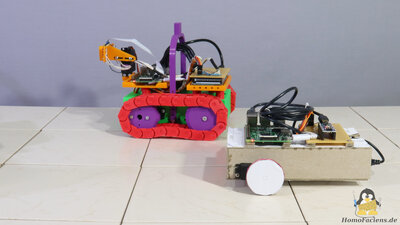
In the previous chapter I presented you a first rover for my mail2code system, which came out of the 3D printer, I would now like to show you that such a vehicle can also be produced with much simpler tools. The mechanic of Rover R21 is mostly made of cardboard. Even if R20's tracks may look "cooler", it doesn't offer any added value in terms of learning effect compared to the R21's cardboard discs. The dimensions are similar and both robot platforms offer a variety of options for attaching extensions to the chassis. If you want to learn programming or are just curious how mail2code works, here is the mail2code project page. Assembly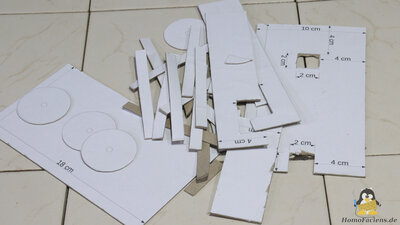
Basic material of R21 is 2mm cardboard, which can be cut very easily with a sharp knife or scissors and all parts can afterwards be assembled with glue. Up to 3mm plywood or 2mm plastic could also be used - both materials can also be cut with a knife, although not quite as easily. The construction drawings can either be transferred to the cardboard using a ruler and a pen, or simply glued on. Hot glue or superglue are suitable adhesives if you need something quick, wood glue is for people with a little more time.mehr Zeit. 
For the chassis, the cut out parts form a box after gluing. 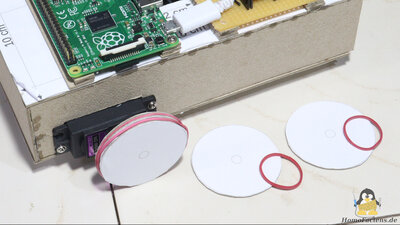
The two servos for continuous rotation, which serve as drive motors, are screwed to this. The screw holes must be pre-drilled with a 1.5mm drill or, as shown here, with a very small screwdriver. Each wheel is composed of two cardboard discs with a diameter of 45mm, which are glued to the servo horns. For better traction, I glued two more discs on each wheel after the first tests and fitted tires made of rubber rings. 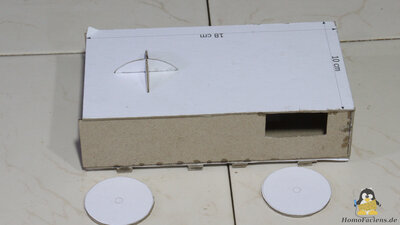
A skid plate is glued to the bottom rear of the chassis. 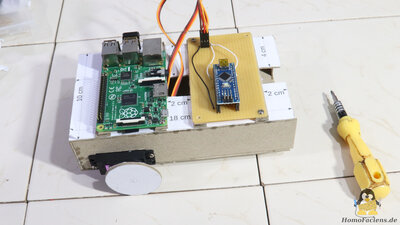
Attachment points for the Raspberry Pi and the microcontroller are made of a stack of cardboard pieces into which holes are drilled. The Raspberry Pi is attached to the front of the chassis, the microcontroller at the back - here I installed a cheaper nano board with an ATmega328 microcontroller. Parts list:When buying components via the affiliate partner links I have listed in the table (or through the banners on my pages) you help to keep my my projects going - many thanks! Clicking on the links does not mean you have to buy - you can simply browse through the pages ;-) Of course, supporting my freely accessible educational platform without shopping but by making a donation or becoming a Patreon also works. Many thanks to everyone who already sent me an obol! Electronics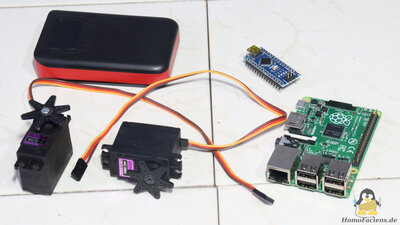
The essential electronic components are the same for both vehicles and consist of a Raspberry Pi, two RC hobby servos for continuous rotation, a power bank and a microcontroller. An ATmega2560 board like with R20 can of course also be used, however to my mind, the smaller and cheaper board is the better option for a cardboard robot. For the electronics, which in the simplest version consists of pin headers for the servos and a few resistors, I used a prototyping board that still has room for extensions. 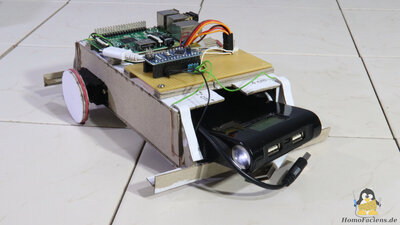
The power bank for the energy supply is inserted into the chassis from the rear. From the power bank, one output leads to the Raspberry Pi and the second to the servos. Raspberry Pi and microcontroller board are also connected via an USB cable. 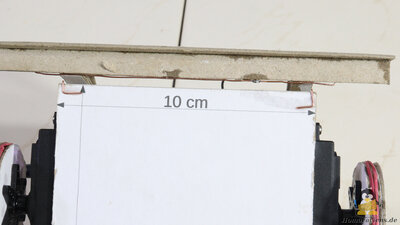
As a first upgrade, I give the robot bumpers with switches that can be used to detect whether the rover has hit an obstacle. On the back side of the cardboard bumpers is a wire connected to ground. 
At the corners of the chassis are the wire counterparts that lead to GPIO pins of the microcontroller. These simple switches are closed as soon as the rover hits an obstacle. Software / DownloadThe circuit layout and the drawings for the cardboard parts are available as DownloadThe software isn't really finished yet. How it works in principle can be found on the mail2code website. Test drivesHave a look at my RoboSpatium to see what robots are currently available for a test drive. Have fun!<<< R20 mail2code Power rails >>> News The Project Technology RoboSpatium Contribute Subject index Archives Download Responses Games Links Gadgets Contact Imprint |
|
|